

Photoshop is powerful, but opening hundreds of photos to apply a colour treatment – even using an action – is laborious and time-consuming. So when Lightroom launched their colour profiles, and I discovered that I could convert my favourite adjustment layers – even super complicated stacked groups of layers – into a Lightroom profile that I could apply to RAW files, I was straight on it. I prepared my favourite looks that I use over and over again in Photoshop, and over the past few months have been testing and tweaking them so they work perfectly for skin tones, don’t add artefacts or banding, and above all are subtle and truly useful colours that I use again and again.
So now, my workflow is as follows:
For wedding catalogues, I apply a creamy, bright profile to the entire collection of raw files, make some small exposure and white balance adjustments, and that’s it. My “look”, which clients nearly always mention as one of the reasons they love my work, is now available for the entire 1500 image collection that I edit and give to them in their gallery, not just album images. The profile gives my raw files the polish and feel of a PS edited image. And then album photos are just retouched for skin blemishes and other items that may need removing. No more adjustment layers in Photoshop to create the colour and mood.
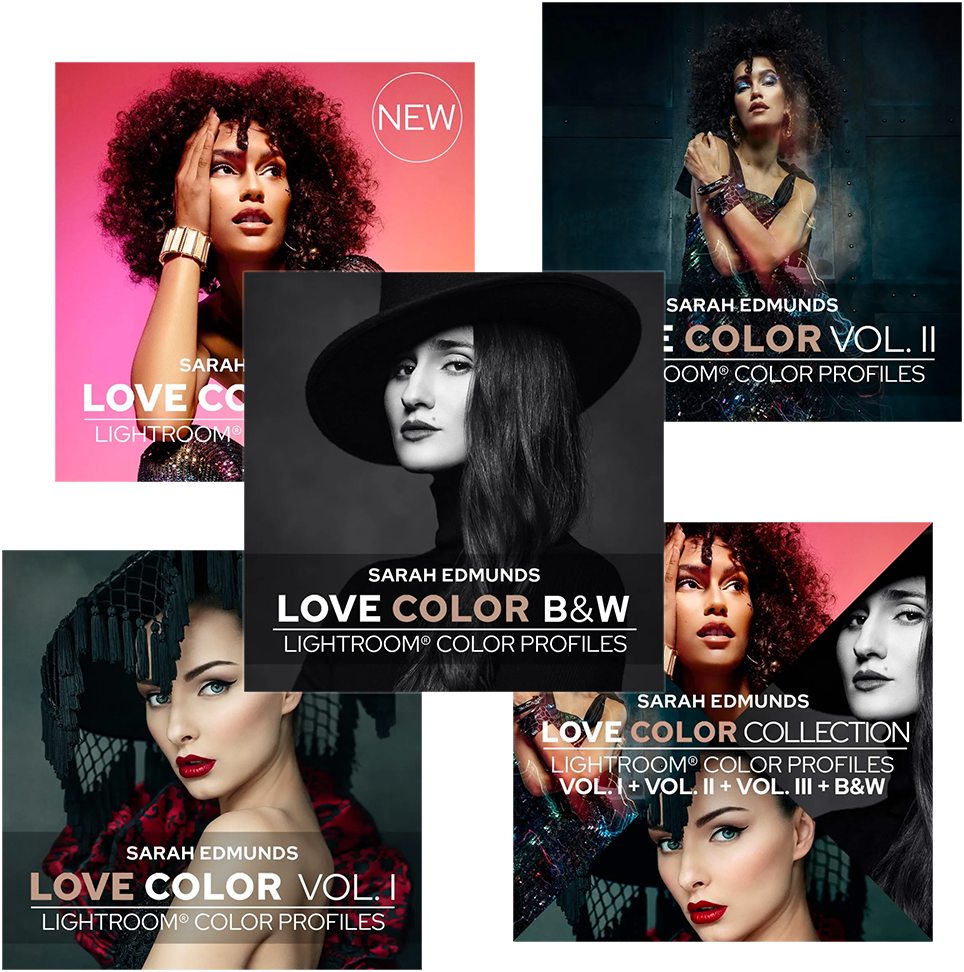
These 77 profiles, custom designed for my work, have saved so much time and frustration. Now I am making them available to a small group of portrait photographers. You will find that different profiles suit different looks: low key, high key. Some add texture to skin and pull out freckles, others give a dreamy, creamy look. Some give that Vanity Fair flair, others add pop and a subtle contrast.
Oh and… they can be used on video clips too :-).
For portraits, my workflow is slightly different. Profiles are only meant to work on raw files, but I have modified mine so they work nicely on jpgs and tiffs, and even psds. So, for portraits, I make some tiny adjustments to white balance and exposure (if necessary) in Lightroom, then open in Photoshop for retouching. I retouch only – no more colour grading and struggling to maintain consistency across the set. Once I have finished retouching, I save and close the file and the edited tif pops up in Lightroom, next to the original RAW. Then, I just use the profile browser to preview all the different looks, and just click to apply. I can increase or decrease the potency of the profile using the single slider at the top of the Develop panel, and best of all, if I change my mind about the colour treatment, I can change whenever I like by just clicking another profile.
 Sarah Edmunds
View More Photos
Skip to Main Content
Sarah Edmunds
View More Photos
Skip to Main Content